
DIY tutorial: Delpozo inspired floral gloves for less than 50$
9:00 AM
I didn't have planned this DIY tutorial, like, at all. Taking into account that I promised I would work on a tutorial for the inspired Dior neck scarf, and the inspired Gucci brooch I just don't know what to say and what to back up into so you do not get mad at me. But, anyway, although soon I will try to work on those tutorials that I owe you, here I am with a new idea with which I have been obsessed with for almost half a year: these AW 16-17 Delpozo embellished gloves. Everything related to Delpozo obsesses me. Its creative director, Josep Font, born in Madrid, studied architecture. I admire how he uses colors, shapes, and draping to create fashion based on simple but very effective and flattering volumes. Instead of striking prints, the brand uses beads to turn into jewelry the pieces they show in each collection. It is for me a brand with very careful style and aesthetic, which advocates for simplicity and timeless garments in a very elegant way.
However, I can not afford a $700 pair of precious gloves that I would probably wear for two days in my entire life for fear of breaking a single bead, or worse: ripping or scratching one of the leather flowers. My intention with this tutorial was to look for a creative and humbler way of recreating this marvelous idea that involves embellishing long winter gloves with flowers (or geometric shapes, or animals, or any motif that comes to mind). The idea is very simple, and it is actually quite cheap, although it requires a little patience and time, as well as basic sewing skills (no, you do not need any sewing machine, nor do you have to know how to make patterns. Knowing how to thread a needle and put on a pair of stitches might be enough).
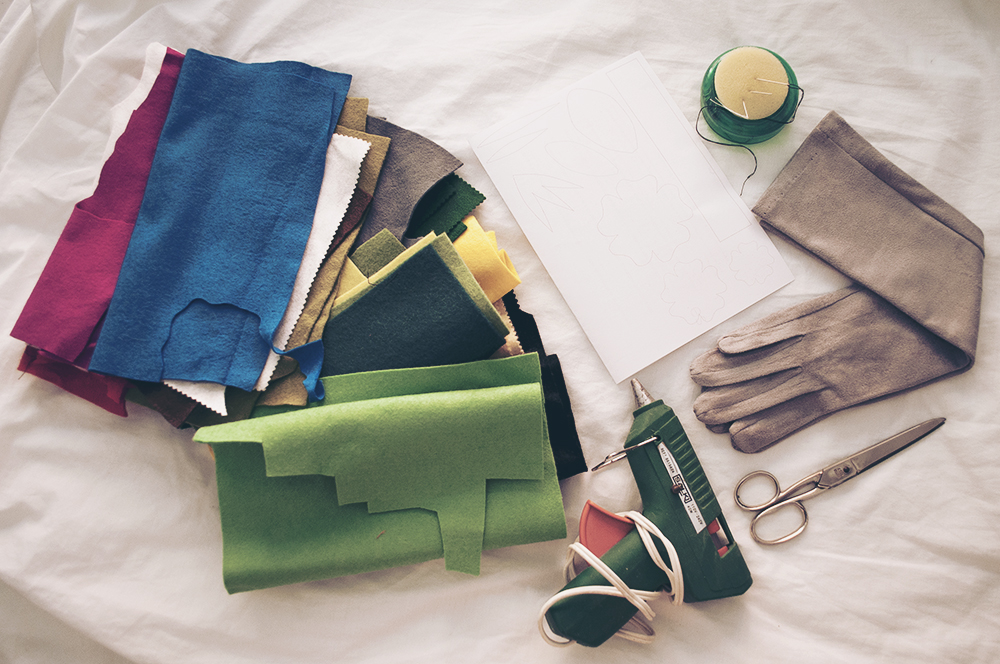
Supplies and things you'll need:
A pair of long, not-stretchy fabric gloves. Mine are a light grey suede with a very little stretch
Needle and thread in the color of the gloves
Pins
Scissors
Glue gun and glue sticks
Felt in different colors
Paper pattern (optional) with flower shapes
Beads and buttons (optional)
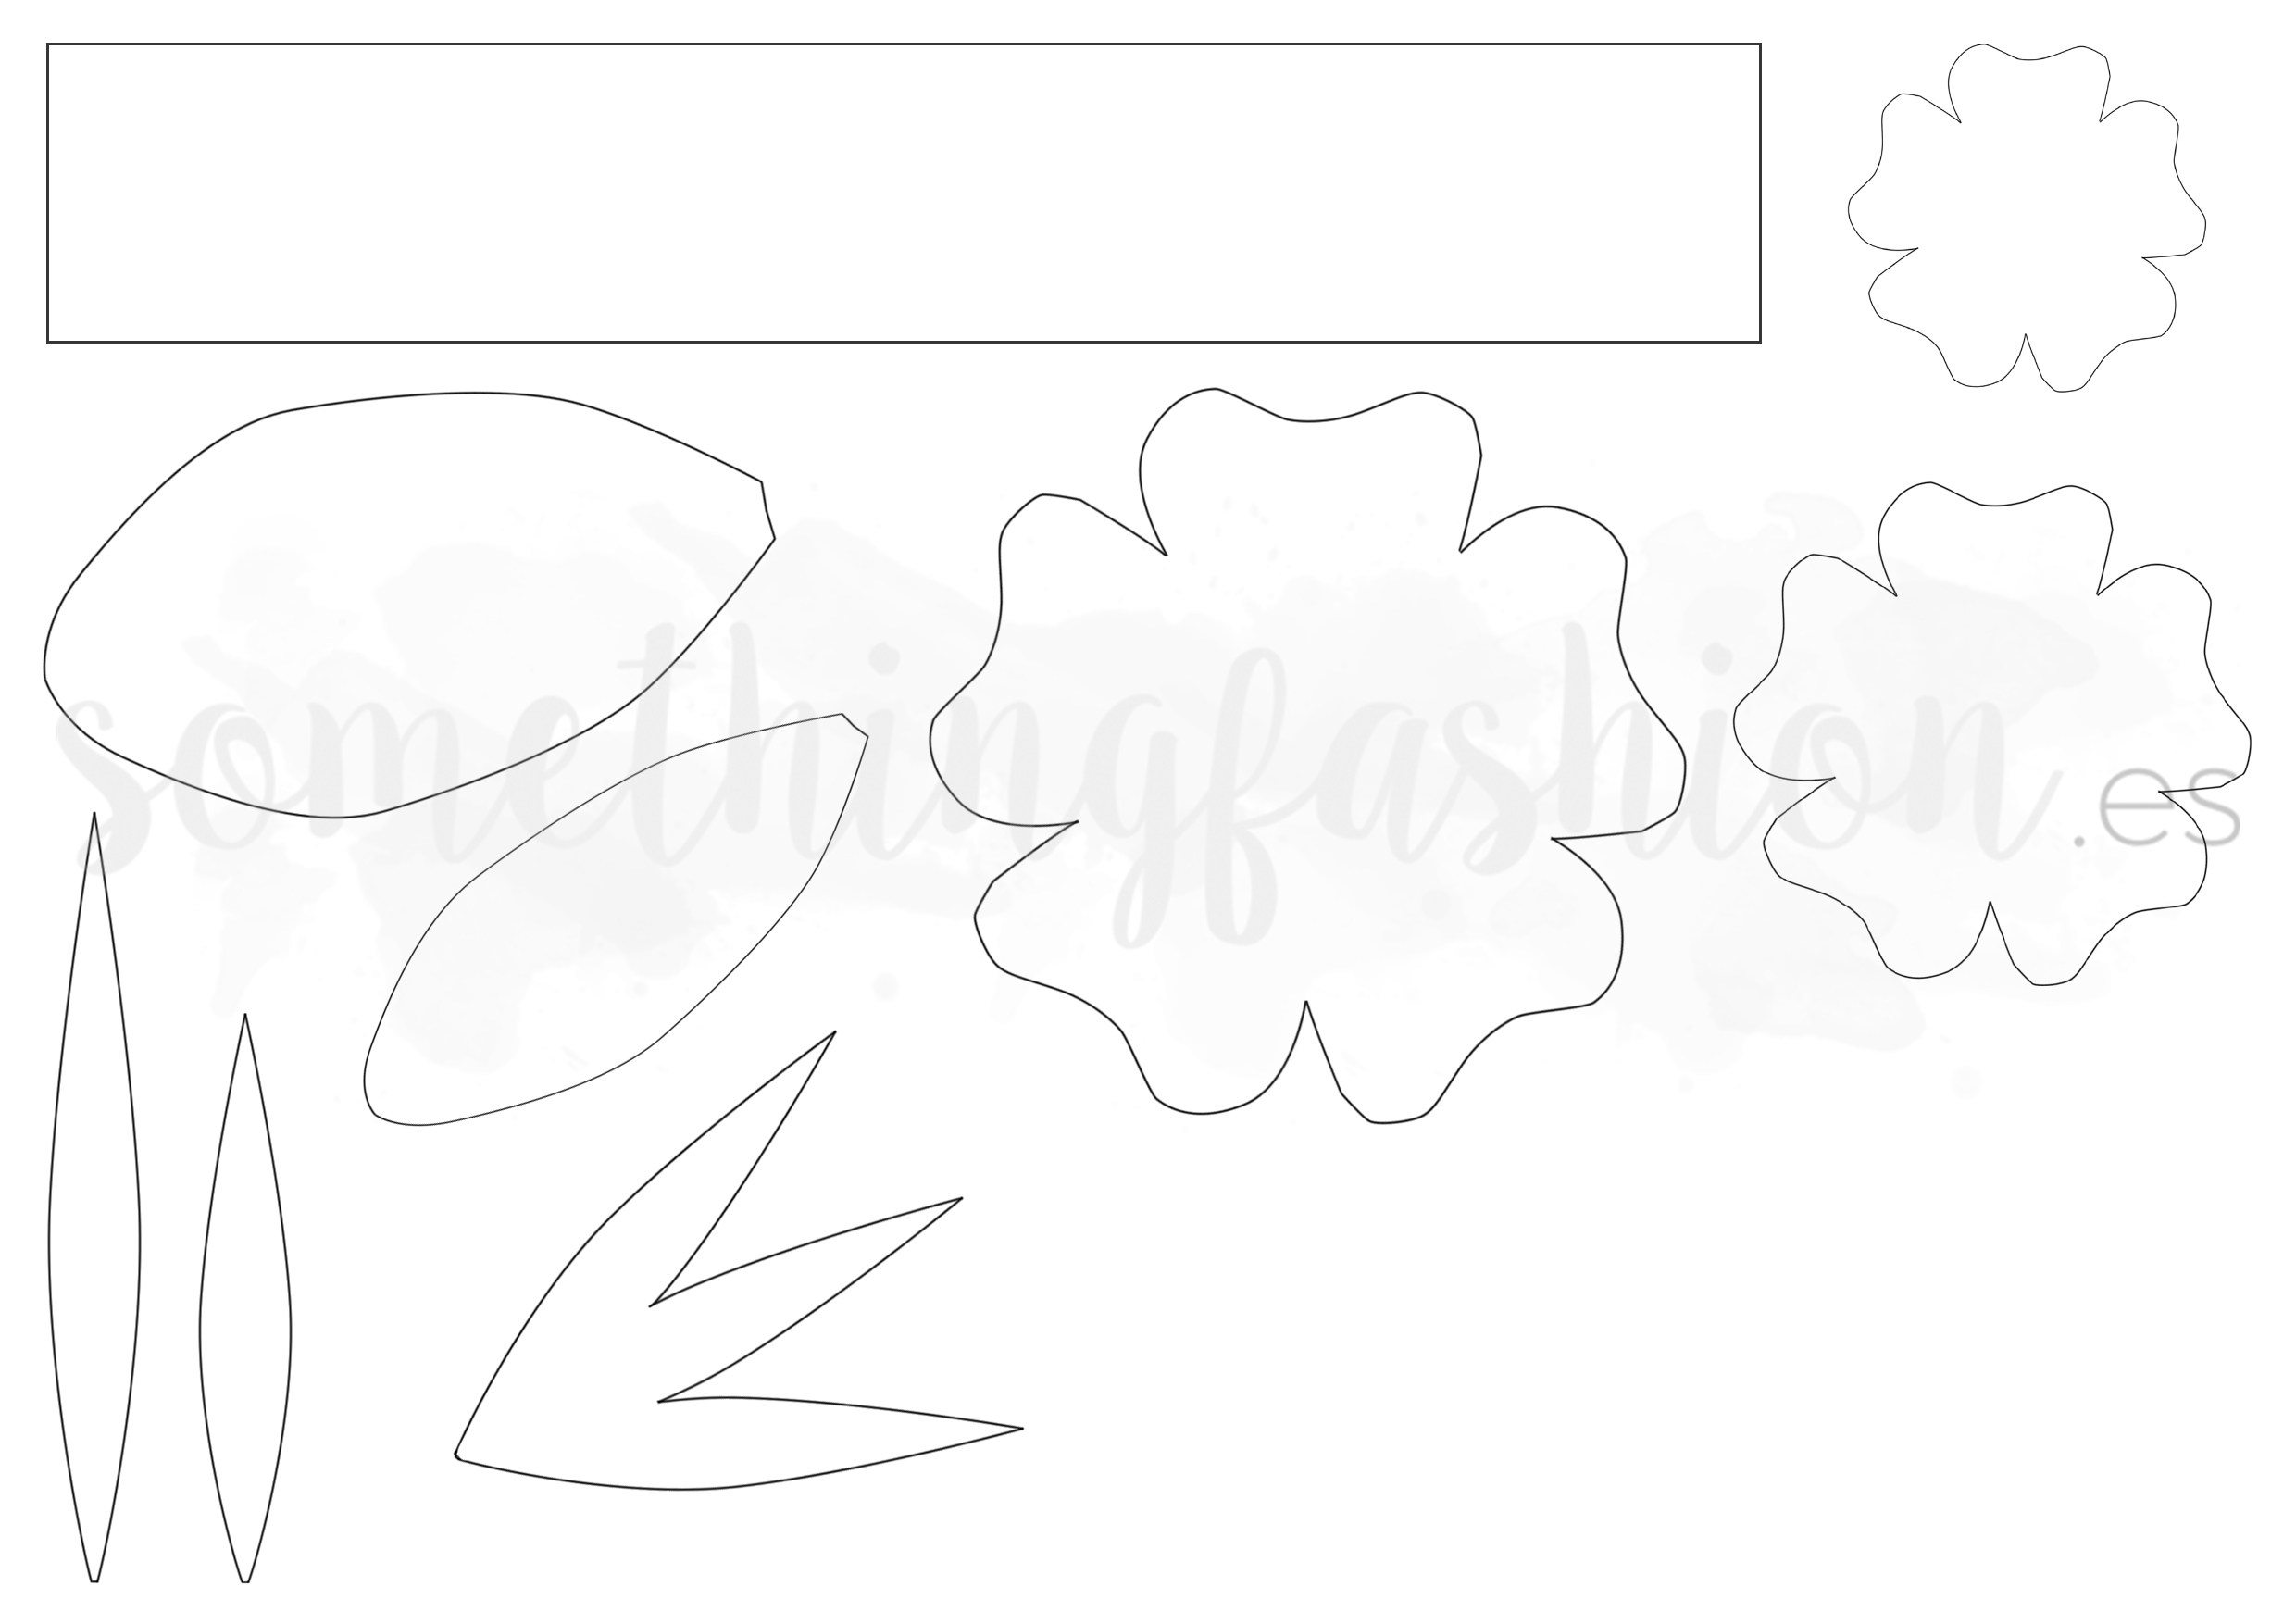
Step 1 (optional):
Download the following image and print it on a DIN-A5 paper without any scaling. B&W will do. You can also make your own shapes for flowers or other motifs on a blank paper, but these are the ones I used on my design for the inspired Delpozo high gloves. In this sheet, there are a couple of different flowers which can be used separately or juxtaposed to create one flower with different layers, as well as different leaves and a wide stripe which can be later folded or pleated to create different details.
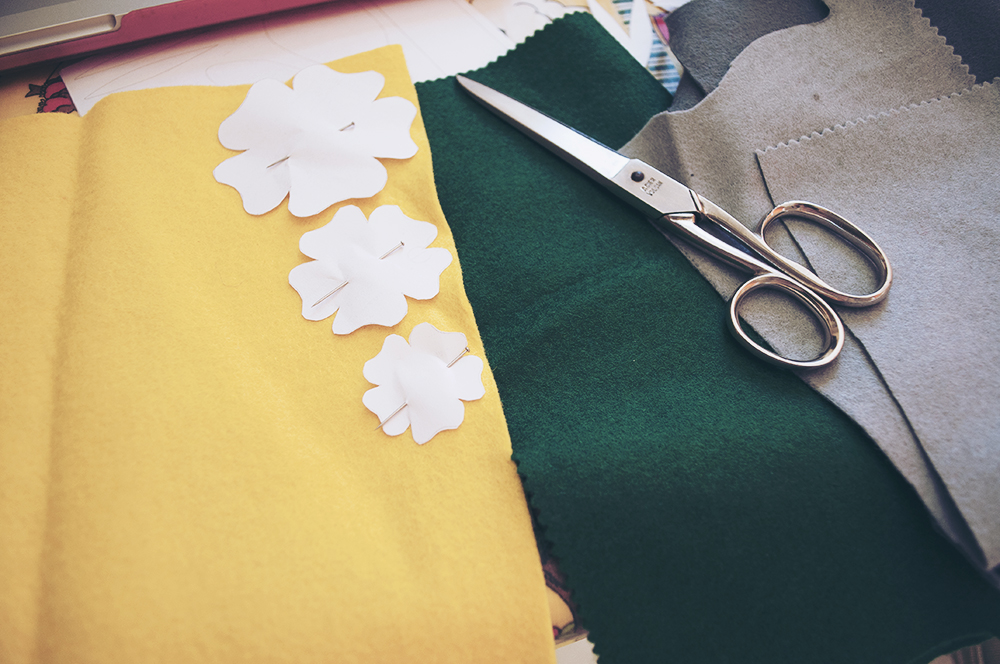
Cut the paper patterns carefully with scissors or a DIY knife tool. Whatever's most comfortable for you.
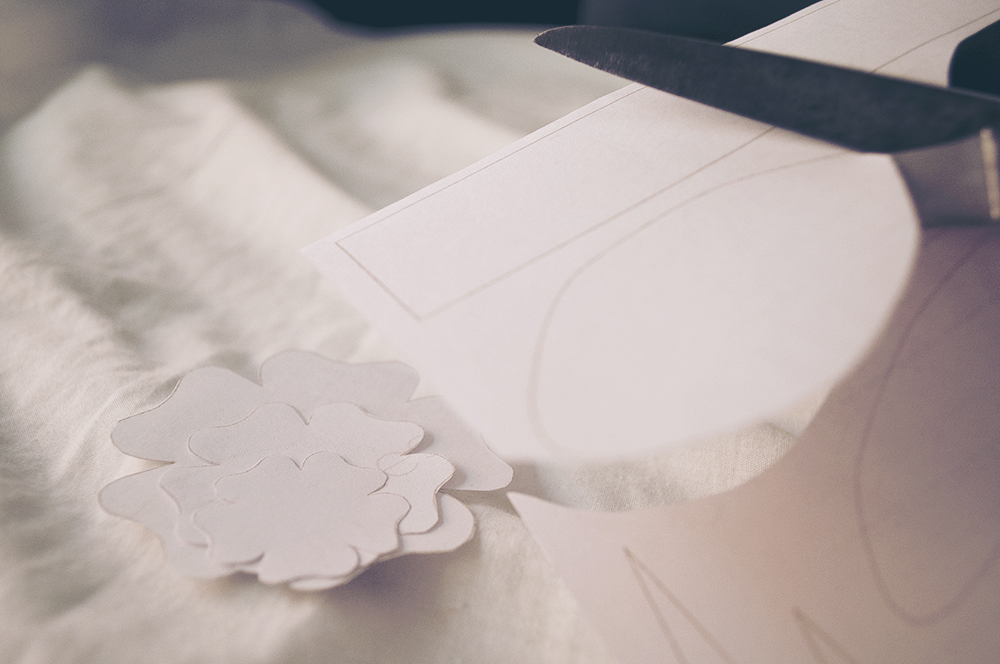
Lay out flat your paper pieces on one glove and figure out the design as you go. You can take different pictures before picking the final design, so you'll remember later on how to lay out the felt pieces. Notice that there's only ONE SET of paper pieces. We'll make the symmetric felt pieces directly on the coming step.
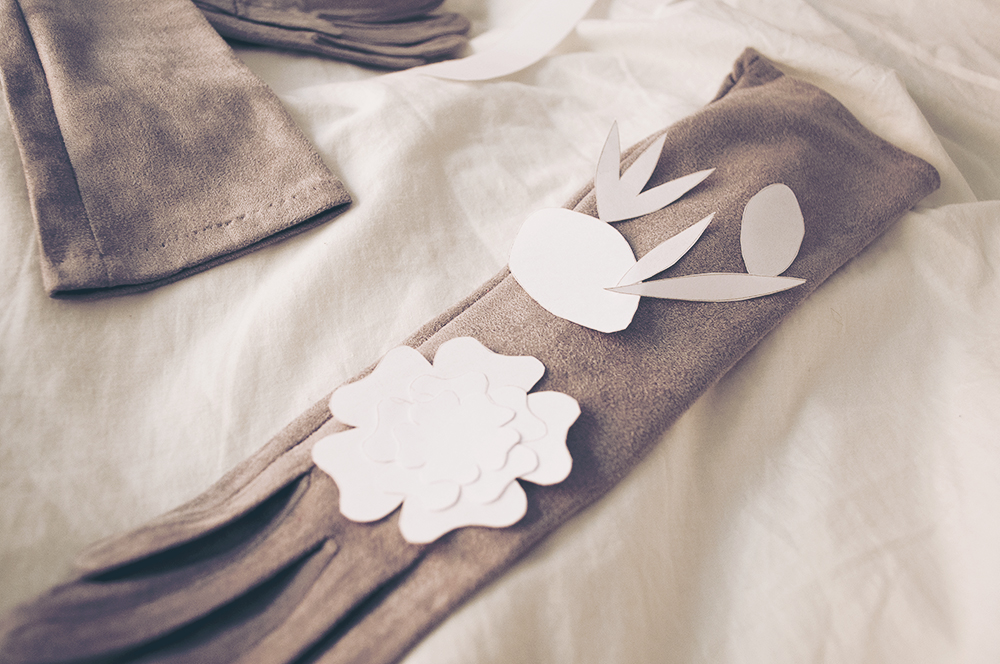
Pin paper motifs of the felt, and always cut in pairs if you want your gloves to be symmetrical (which I highly recommend, as the originals are that way and that aspect makes the design cohesive and more curated). If the felt is quite soft, you can fold it and cut the pieces at the same time.
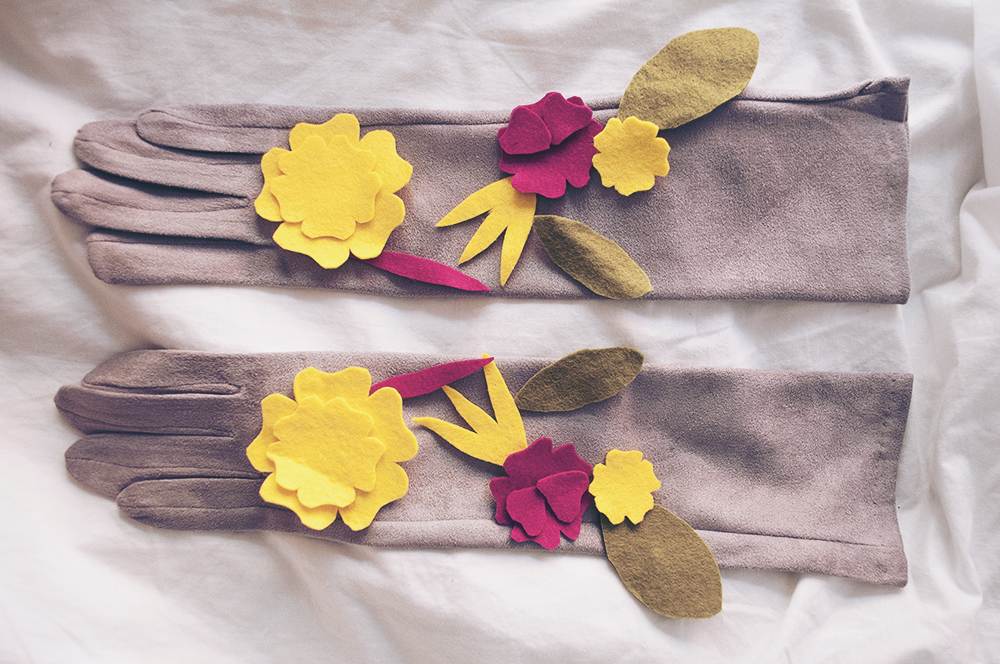
Note: I noticed that the original gloves do only have four different colors + one extra color which is very similar to the background color on the gloves. This is up to you. I personally chose not to overcharge the design with too many colors, and stick to a palette of two shades of green, yellow, pink and light grey.
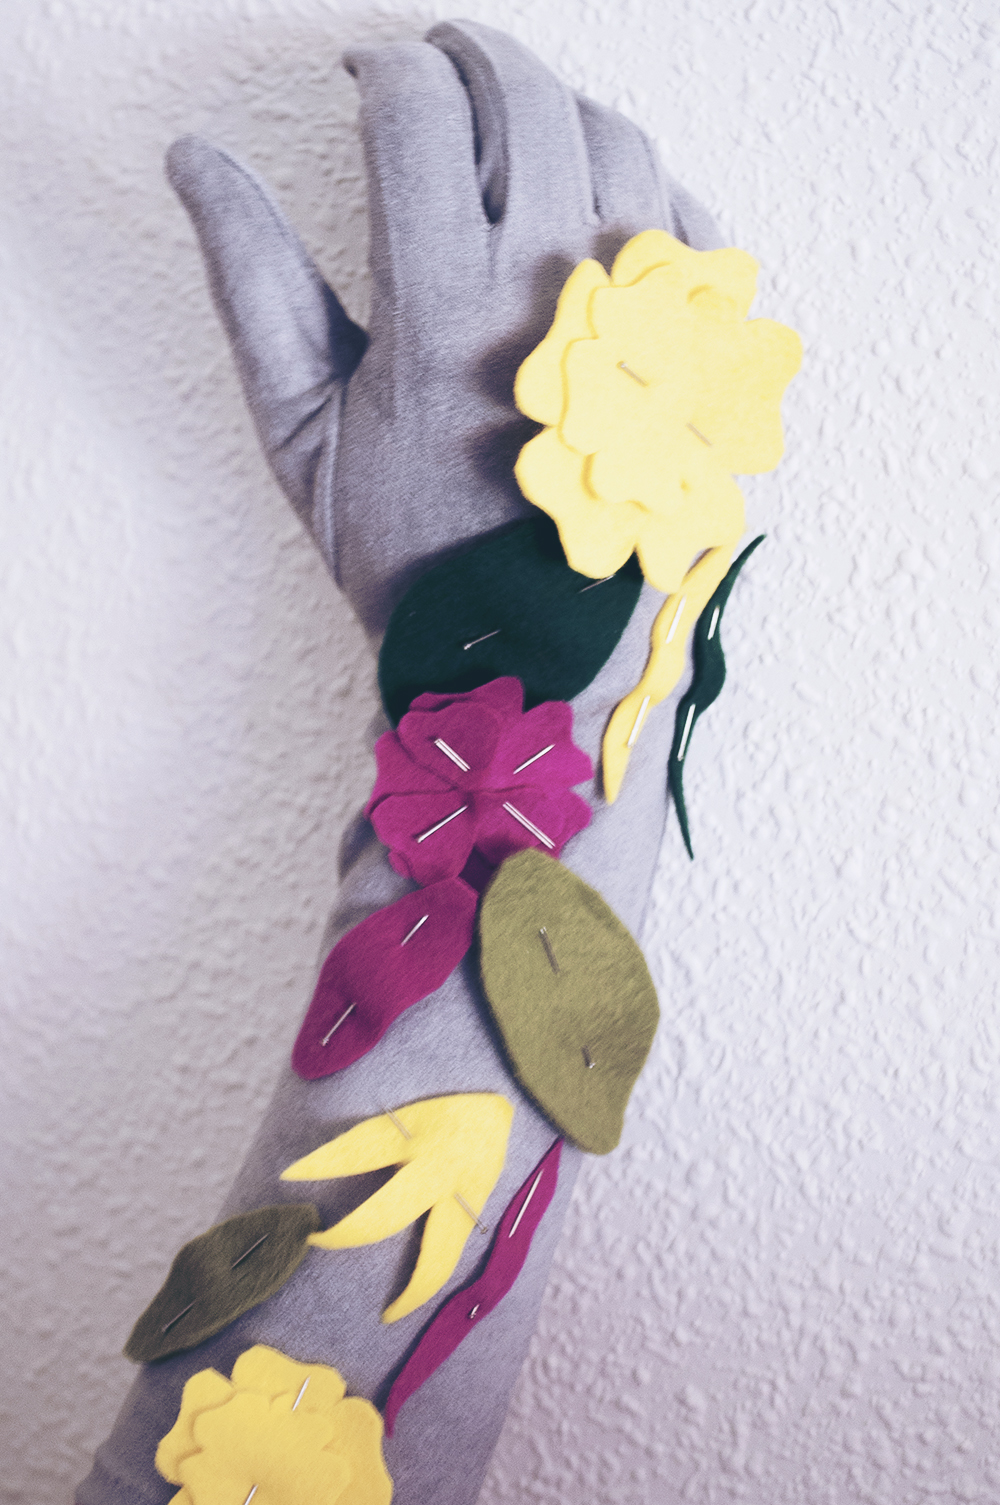
Lay out flat the chosen design and play with the shapes before pinning them down. Be careful with symmetries, and with any elements sticking out of the gloves! This will make them eventually quite uncomfortable to wear once finished and might cause the break of some pieces due to regular touch with coats.
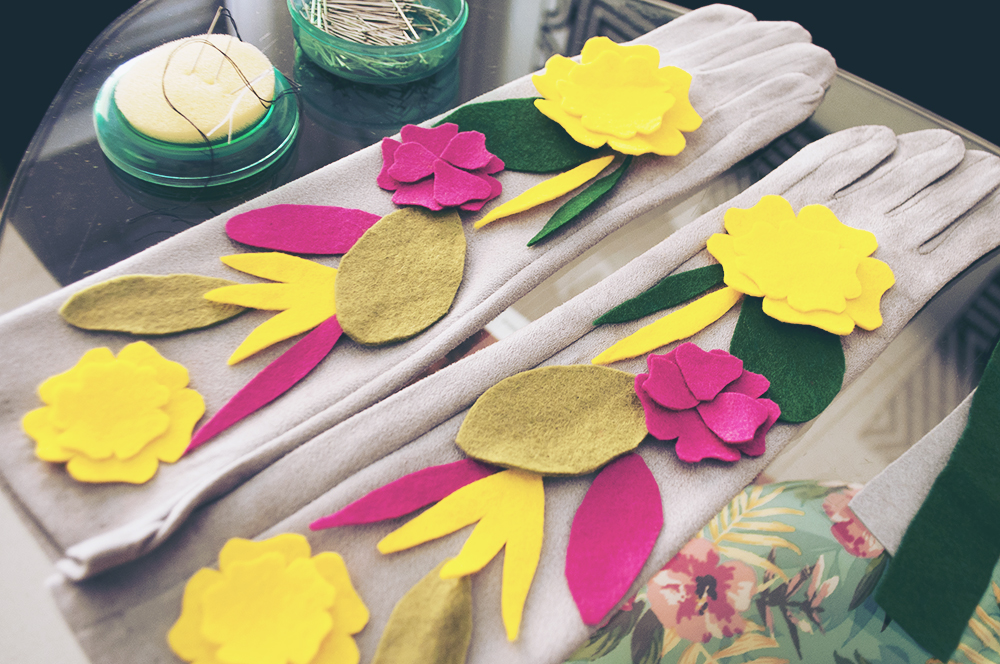
My advice here is to take pictures again of the design, before carefully setting aside all the felt pieces and start pinning. Be careful not to pin the back of the glove! For it to work more easily and comfortably, I started pinning on the hands and then kept going up to the mid-arm section.
Now, you can try them on if you want :D And then, make the necessary adjustments. Add more felt pieces if necessary.
Take the gloves off, and carefully with a thread as similar as possible to the background color of your glove, start stitching the felt to the front layer of the glove. Make very, very short and small stitches. If your gloves' fabric has a bit of stretch, be careful not to sew too long stitches or else they might break once wearing and stretching them. Remove the pins as you go.
Fill in the gaps with beads or buttons if you feel like so.
And that's it! If you liked this DIY tutorial, please share it on your social media and tag us with #somethingfashion or let me know at @amandasomethingfashion I would love to see your creations!
![About [span]me[/span]](https://farm5.staticflickr.com/4335/35565816704_416c791419_o.jpg)


1 comentarios
Una autentica preciosidad!!besos
ReplyDelete